The world of DIY beauty has exploded in recent years, and at the center of it is the rise of cluster lashes. These individual sections of falsies offer a middle ground between strip lashes and expensive salon extensions. Among the most popular brands in this space is MilyBest and we explore MilyBest Lash Clusters Review.
Final Rating: 4.2/5 (Great value, but buy a backup lash glue just in case)
Known for their affordability and complete kits, MilyBest promises “salon-worthy lashes at home.” But are they too good to be true? If you are considering tossing your lash curler and picking up a pair of tweezers, here is a breakdown of the pros and cons of the MilyBest Lash Cluster system based on user experiences, comfort levels, and durability.
Disclaimer: For general informational use only. Not medical advice. Patch test required. Affiliate link. Use at your own risk.
The Pros: Why Users Love MilyBest
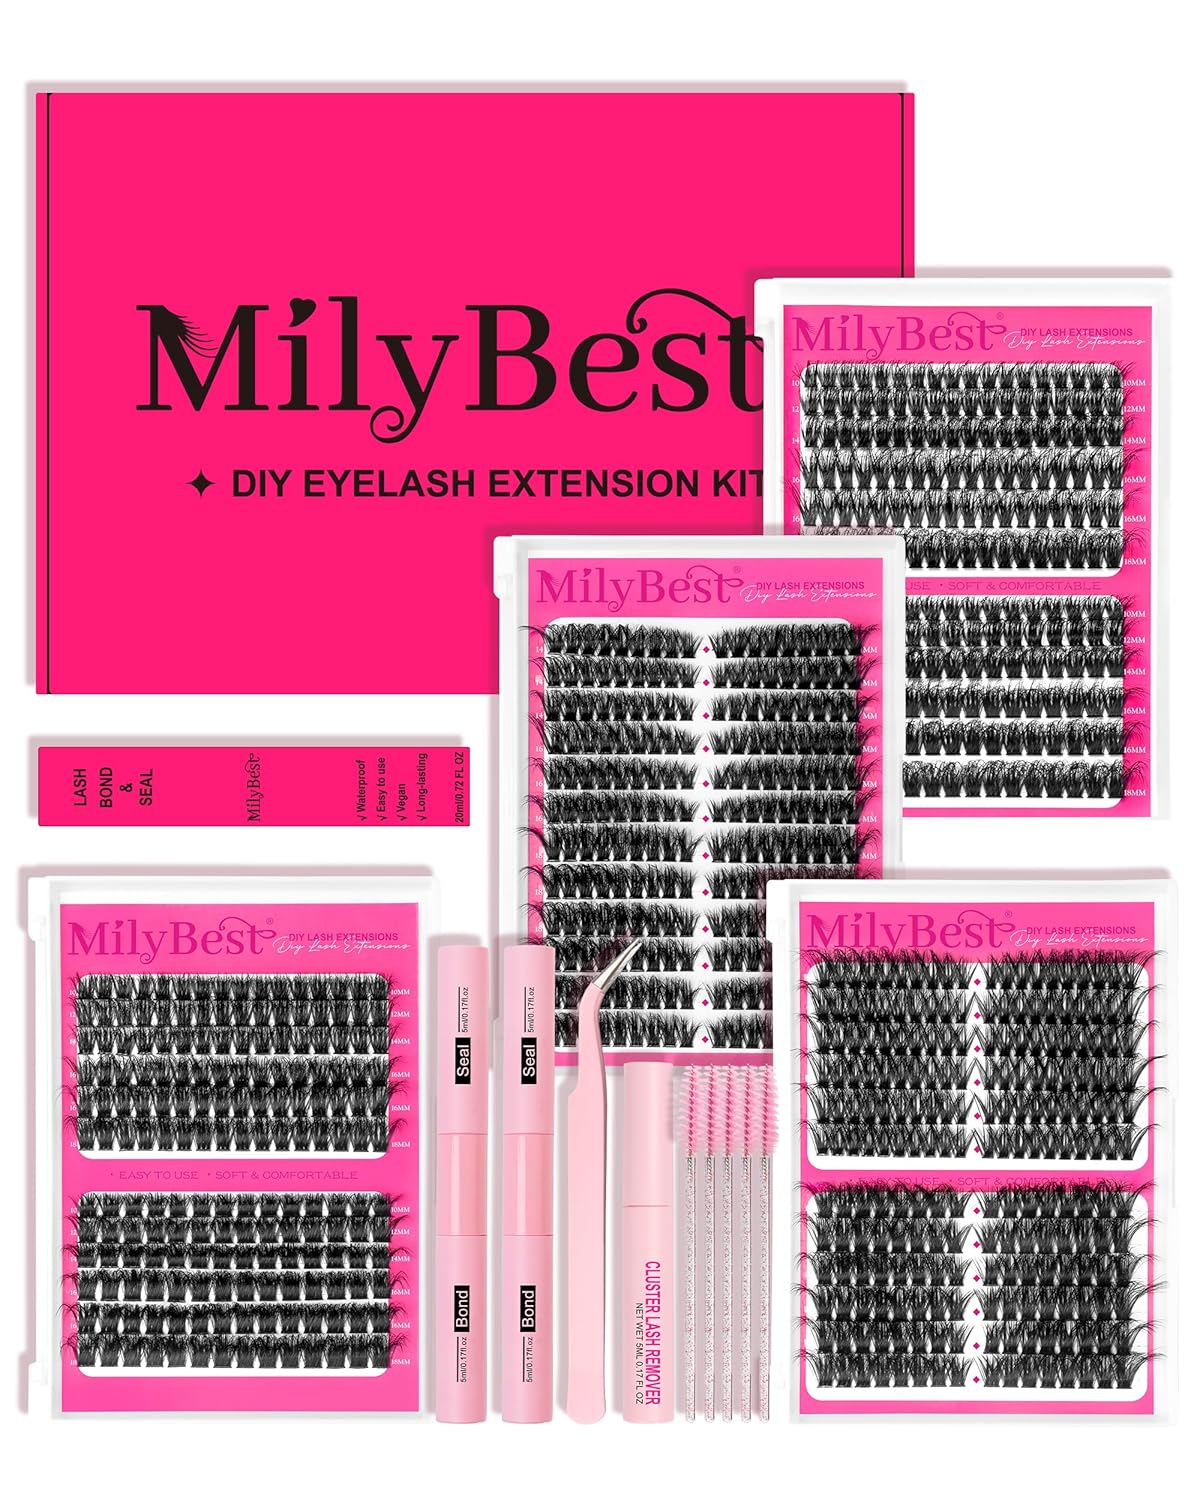
1. The “Everything You Need” Starter Kit
One of the biggest barriers to DIY lashes is buying glue, remover, tweezers, and lashes separately. MilyBest solves this with comprehensive kits that usually include 4 different styles of lashes (like “Rozen” or “Fable”), a dual-sided bond and seal (black glue and white sealer), a remover, and precision tweezers . For roughly $12.99 for a multi-box set, it is a low-risk investment to see if you like the cluster lash look .
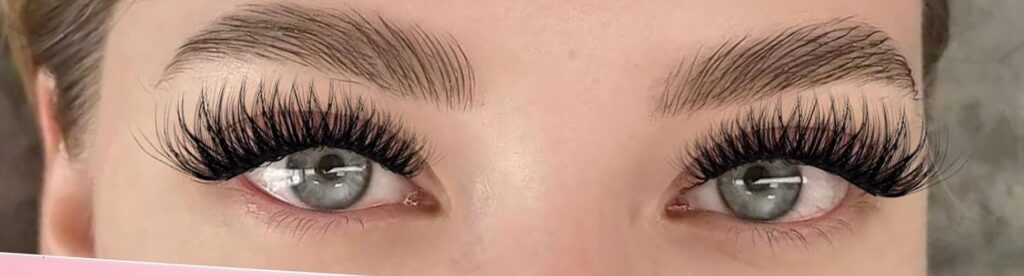
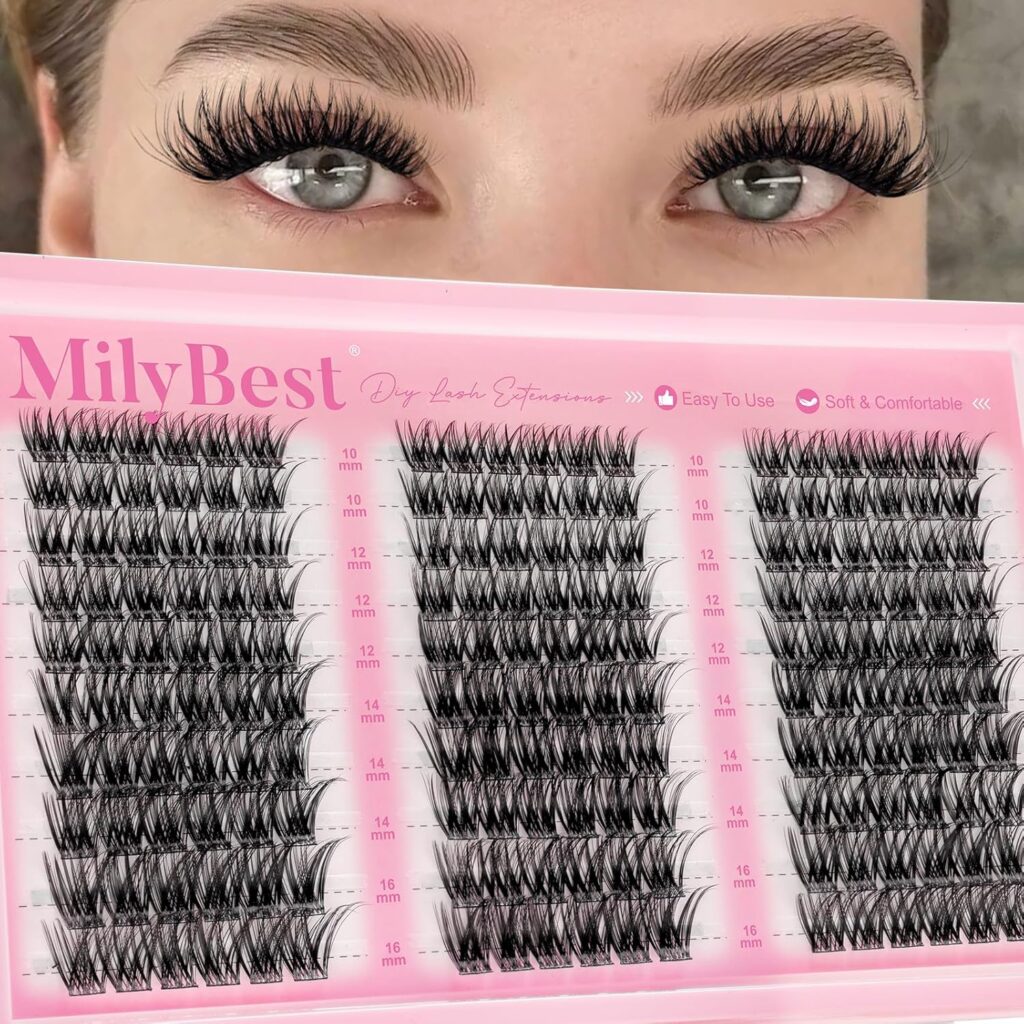
2. Featherlight and Fluffy Aesthetic
Users frequently describe the lashes as “fluffy” and “soft.” The fibers are designed to mimic natural mink lashes without the weight. Unlike strip lashes, which can feel heavy on the eyelid, reviewers note that once the MilyBest clusters bond to your natural lashes, they feel virtually weightless . The D-curl and mixed lengths (ranging from 8mm to 16mm) help create a “manga” or “doll-eye” effect that is very trendy right now .
3. Surprisingly Good Bond for Daily Wear
When applied correctly, the included bond and seal system is effective. Several users report that the lashes can last between 3 to 7 days depending on your lifestyle and how well you avoid oil-based products near the eyes. The bond holds up well through light exercise and everyday activities .
4. Sustainable and Reusable
The clusters are made from faux mink and are cruelty-free. Furthermore, unlike individual lash extensions that fall off one by one, these clusters can be removed as a set. With proper care (cleaning off the old glue), a single set of MilyBest lashes can be reused up to 5 or even 10 times, saving you money in the long run .
The Cons: What You Need to Watch Out For
1. The Glue Can Be Inconsistent
This is the most common complaint regarding the MilyBest system. While the bond works for many, some users report that the glue included in the kit simply “doesn’t hold” or feels weak. Others have noted that while the bond holds well, if it gets wet in the shower or if you have oily skin, it can loosen significantly. Some experienced users suggest that for the best results (or for humid climates), you might want to purchase a third-party, heavy-duty lash bond glue separately .
2. Steep Learning Curve for Beginners
While marketed as beginner-friendly, placing clusters underneath your natural lash line takes a steady hand and patience. First-timers often struggle with getting the placement symmetrical or dealing with lashes that feel “spiky” or poke the eyelid. You may need a few practice sessions (and some wasted clusters) before you master the technique .
3. The “Dramatic” Default
If you are searching for a “no-makeup” makeup look, MilyBest might be too heavy. The styles lean heavily toward volume, spikes, and drama. Even their “natural” styles tend to be fuller than drugstore strip lashes. Users looking for a subtle enhancement to the lash line often find these lashes to be “a bit extra” for daily office wear .
4. Potential for Discomfort
Because the band, while thin, is slightly thicker than ultra-premium brands, some users with sensitive eyes have reported that they can feel the lashes on their lids, especially if applied too close to the waterline. Additionally, a few reviewers noted that the glue can cause a burning sensation if you get water on them too soon after application, or if you have an adhesive allergy .
The Verdict: Are They Worth It?
Yes, for the DIY enthusiast on a budget.
MilyBest Lash Clusters offer incredible value for money. For the price of a single salon fill, you get months’ worth of lashes. They look beautiful in photos and provide that instant “wow” factor that mascara simply cannot achieve.
However, they require patience. The Verdict: If you are willing to spend an hour learning how to apply them and understand that the included glue is just “okay,” these are a fantastic purchase. If you want a five-minute fix with zero effort, you may find them frustrating.
Here is a detailed, step-by-step DIY Application Guide for MilyBest Lash Clusters (or any similar cluster lash system). Follow these instructions carefully to get a long-lasting (3–7 days), comfortable, and natural-looking result.
What You’ll Need (The DIY Toolkit)
- MilyBest Lash Clusters (your chosen style – e.g., Rozen, Fable, etc.)
- Bond & Seal (use the MilyBest included glue or a stronger third-party bond)
- Remover (essential for safe removal – included in most kits)
- Precision tweezers (preferably slant-tipped or curved)
- Mini mirror (magnifying if possible)
- Lash brush / spoolie (to comb and blend)
- Oil-free makeup remover (to clean lids beforehand)
- Cotton swabs (for cleanup)
Step 1: Prep Your Natural Lashes (Crucial!)
- Cleanse your eyelids with an oil-free cleanser or micellar water. Oil will break the bond and ruin longevity.
- Avoid moisturizer or eye cream on the lash line.
- Comb your natural lashes with a spoolie to detangle and separate them.
✅ Pro tip: Do not apply mascara – it creates a slippery surface. Clean, dry natural lashes hold best.
Step 2: Select the Right Cluster Size
MilyBest clusters typically come in mixed lengths (e.g., 8mm–16mm). For a natural look:
| Eye Zone | Length Suggestion |
|---|---|
| Inner corner | 8–10 mm |
| Middle | 10–12 mm |
| Outer corner | 12–14 mm (or 16 for drama) |
Lay your clusters out in order before starting.
Step 3: Apply Bond (The Glue)
- Shake the Bond bottle gently.
- Using the applicator wand or a micro-brush, apply a thin, even layer of bond to your natural lashes only – not your skin.
- Focus on the base of your lashes, about 1–2 mm above the waterline.
- Wait 30–45 seconds for the bond to become tacky (slightly sticky, not wet). This is the most important waiting step – do not rush.
Step 4: Apply Clusters Under the Lash (The Pro Method)
MilyBest clusters are designed to sit underneath your natural lashes, not on top like strips.
- Use tweezers to pick up one cluster by the base.
- Dip the base of the cluster into a tiny extra dab of bond (optional for extra hold).
- Look down into a mirror (or tilt your chin up and eyes down).
- Place the cluster under your natural lashes, pressing the base gently against the underside of your real lashes.
- Pinch the cluster and your natural lashes together with tweezers or your fingers for 5–10 seconds.
- Repeat for 4–6 clusters per eye (fewer for a natural look, more for volume).
⚠️ Do not touch your waterline or skin – the cluster should attach only to lash hairs.
Step 5: Seal for Longevity
- Apply the Seal (the white or clear bottle) over the bonded area – both the top and bottom of the lash sandwich.
- The seal locks everything in place and prevents stickiness.
- Wait 60 seconds before blinking hard or getting them wet.
Step 6: Pinch & Set
- Using clean tweezers or fingertips, gently pinch your natural lashes together with the clusters to ensure full adhesion.
- Comb through with a spoolie to blend and remove any gaps.
Aftercare (Day 2–7)
| Do ✅ | Don’t ❌ |
|---|---|
| Wash face carefully avoiding lash line | Rub eyes or sleep face down |
| Use oil-free cleanser only | Use waterproof mascara on top |
| Brush lashes daily with a clean spoolie | Steam rooms, saunas, or hot showers directly on face |
| Let lashes air dry after getting wet | Pick or pull clusters off |
Step 7: Safe Removal (When Ready)
Do not pull clusters off dry – you will rip out natural lashes.
- Apply Remover (from MilyBest kit) to a cotton swab or pad.
- Press gently along the lash line for 20–30 seconds.
- Clusters will slide off easily.
- Use remover again to clean off residual bond from natural lashes.
- Wash eyes gently with oil-free cleanser.
Troubleshooting Common DIY Problems
| Problem | Solution |
|---|---|
| Clusters fall off same day | Bond wasn’t tacky before application / Oily lids |
| Lashes feel stiff | Too much bond or seal applied |
| Clusters poke eye | Applied too close to waterline or cluster too long for that zone |
| One eye looks different | Start with the same number of clusters on each eye, mirrored placement |
Final DIY Tips
- Practice first on a weekend – your first attempt may take 45 minutes. By the third try, you’ll be down to 10–15 minutes.
- Less glue is more – excess bond creates white residue and irritation.
- If you wear makeup – apply powder eyeshadow before lashes. Avoid liquid liner near the bond area.
With patience and this guide, MilyBest clusters can save you hundreds of dollars vs. salon extensions while giving you a gorgeous, fluffy lash look. Good luck!
📋 Disclaimer – Professional Recommendation
This recommendation is provided for informational and educational purposes only and does not constitute medical advice, diagnosis, or treatment. Individual results may vary based on skin type, application technique, adhesive sensitivity, and underlying health conditions. As a clinician/cosmetic medicine practitioner, I encourage you to perform a patch test before full application, avoid use if you have active eye infections, allergies to cyanoacrylates or latex, or recent ocular surgery. This product is not intended to diagnose, treat, cure, or prevent any disease. Always consult your own healthcare provider for medical concerns. This link is an Amazon affiliate link; I may earn a small commission at no extra cost to you.
🇺🇸 FDA Note: Cluster lashes with adhesives are classified as cosmetic products. The FDA does not pre-approve cosmetics. Use at your own risk.
Author
cosmohospitalhyd@gmail.com
Related posts
Eyelash Serum Before and After: What Results Can You Expect?
90-Day Lash Serum Results: Before & After | Organic Castor Oil Journey ✨ Affiliate Disclosure: This post contains honest reviews & affiliate...
Read out all
The science behind longer eyelashes: what actually works?
Long, dark, fluttery eyelashes are universally admired. They frame the eyes, make us look more awake, and are a billion-dollar beauty obsession....
Read out all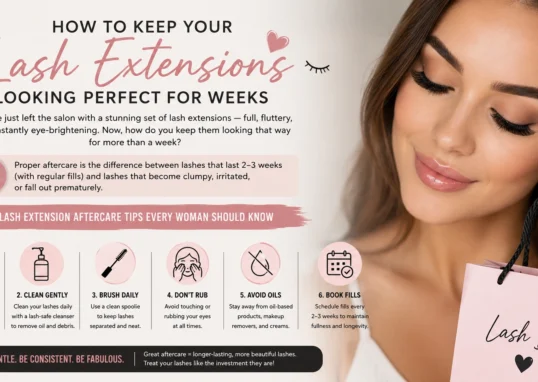
Eyelash Extension Aftercare Tips Every Woman Should Know
You’ve just left the salon with a stunning set of lash extensions — full, fluttery, and instantly eye-brightening. Now, how do you...
Read out all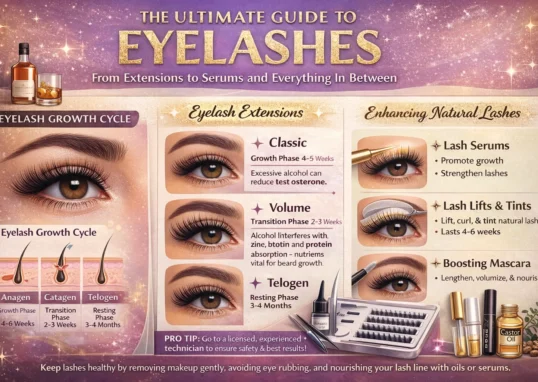
The Ultimate Guide to Eyelashes: From Extensions to Serums and Everything In Between
Do eyelashes grow back? Can you use a curler with extensions? We answer every burning question. Let’s face it—long, lush eyelashes are the ultimate...
Read out all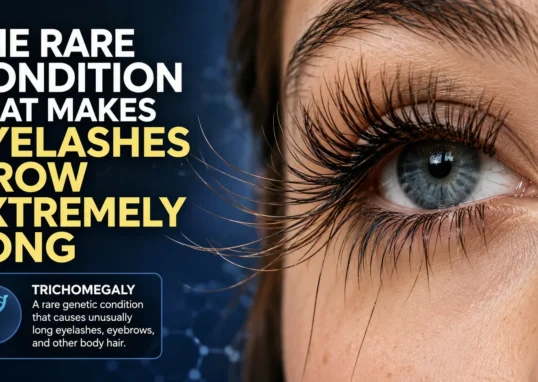
The Rare Condition That Makes Eyelashes Grow Extremely Long
Trichomegaly is the medical term for the rare condition of having extremely long eyelashes. While often celebrated in popular culture as a...
Read out all
The Best Eyelash Curlers You Can Buy Right Now
After extensive research and testing, one model consistently rises to the top as the best overall choice for the majority of users....
Read out all